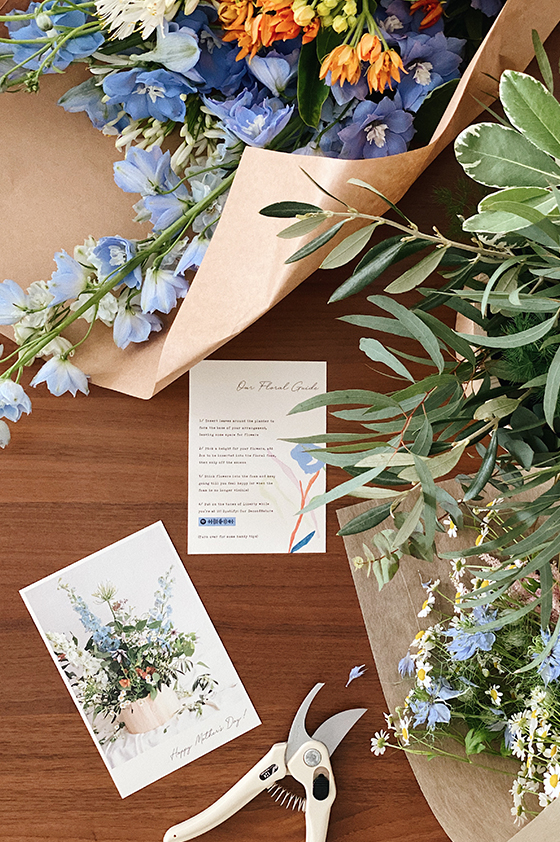
I always looked forward to Easter as a kid. Seeing the special shelf of Easter chocolates at the supermarket, getting supplies to paint our Easter eggs – it was a time where my sisters and I spent some good afternoons together, unleashing our creativity (and competitiveness over who had the nicest egg).
With Easter approaching, I was looking for new ways to paint the eggs, and when I came across this method using whipped cream, I had to try it! The materials used are readily available and are of food grade, meaning you can eat them after you’re done – YAY. This DIY was so easy to do it took me about 20 minutes, and I love how one egg will never be the same as the other!
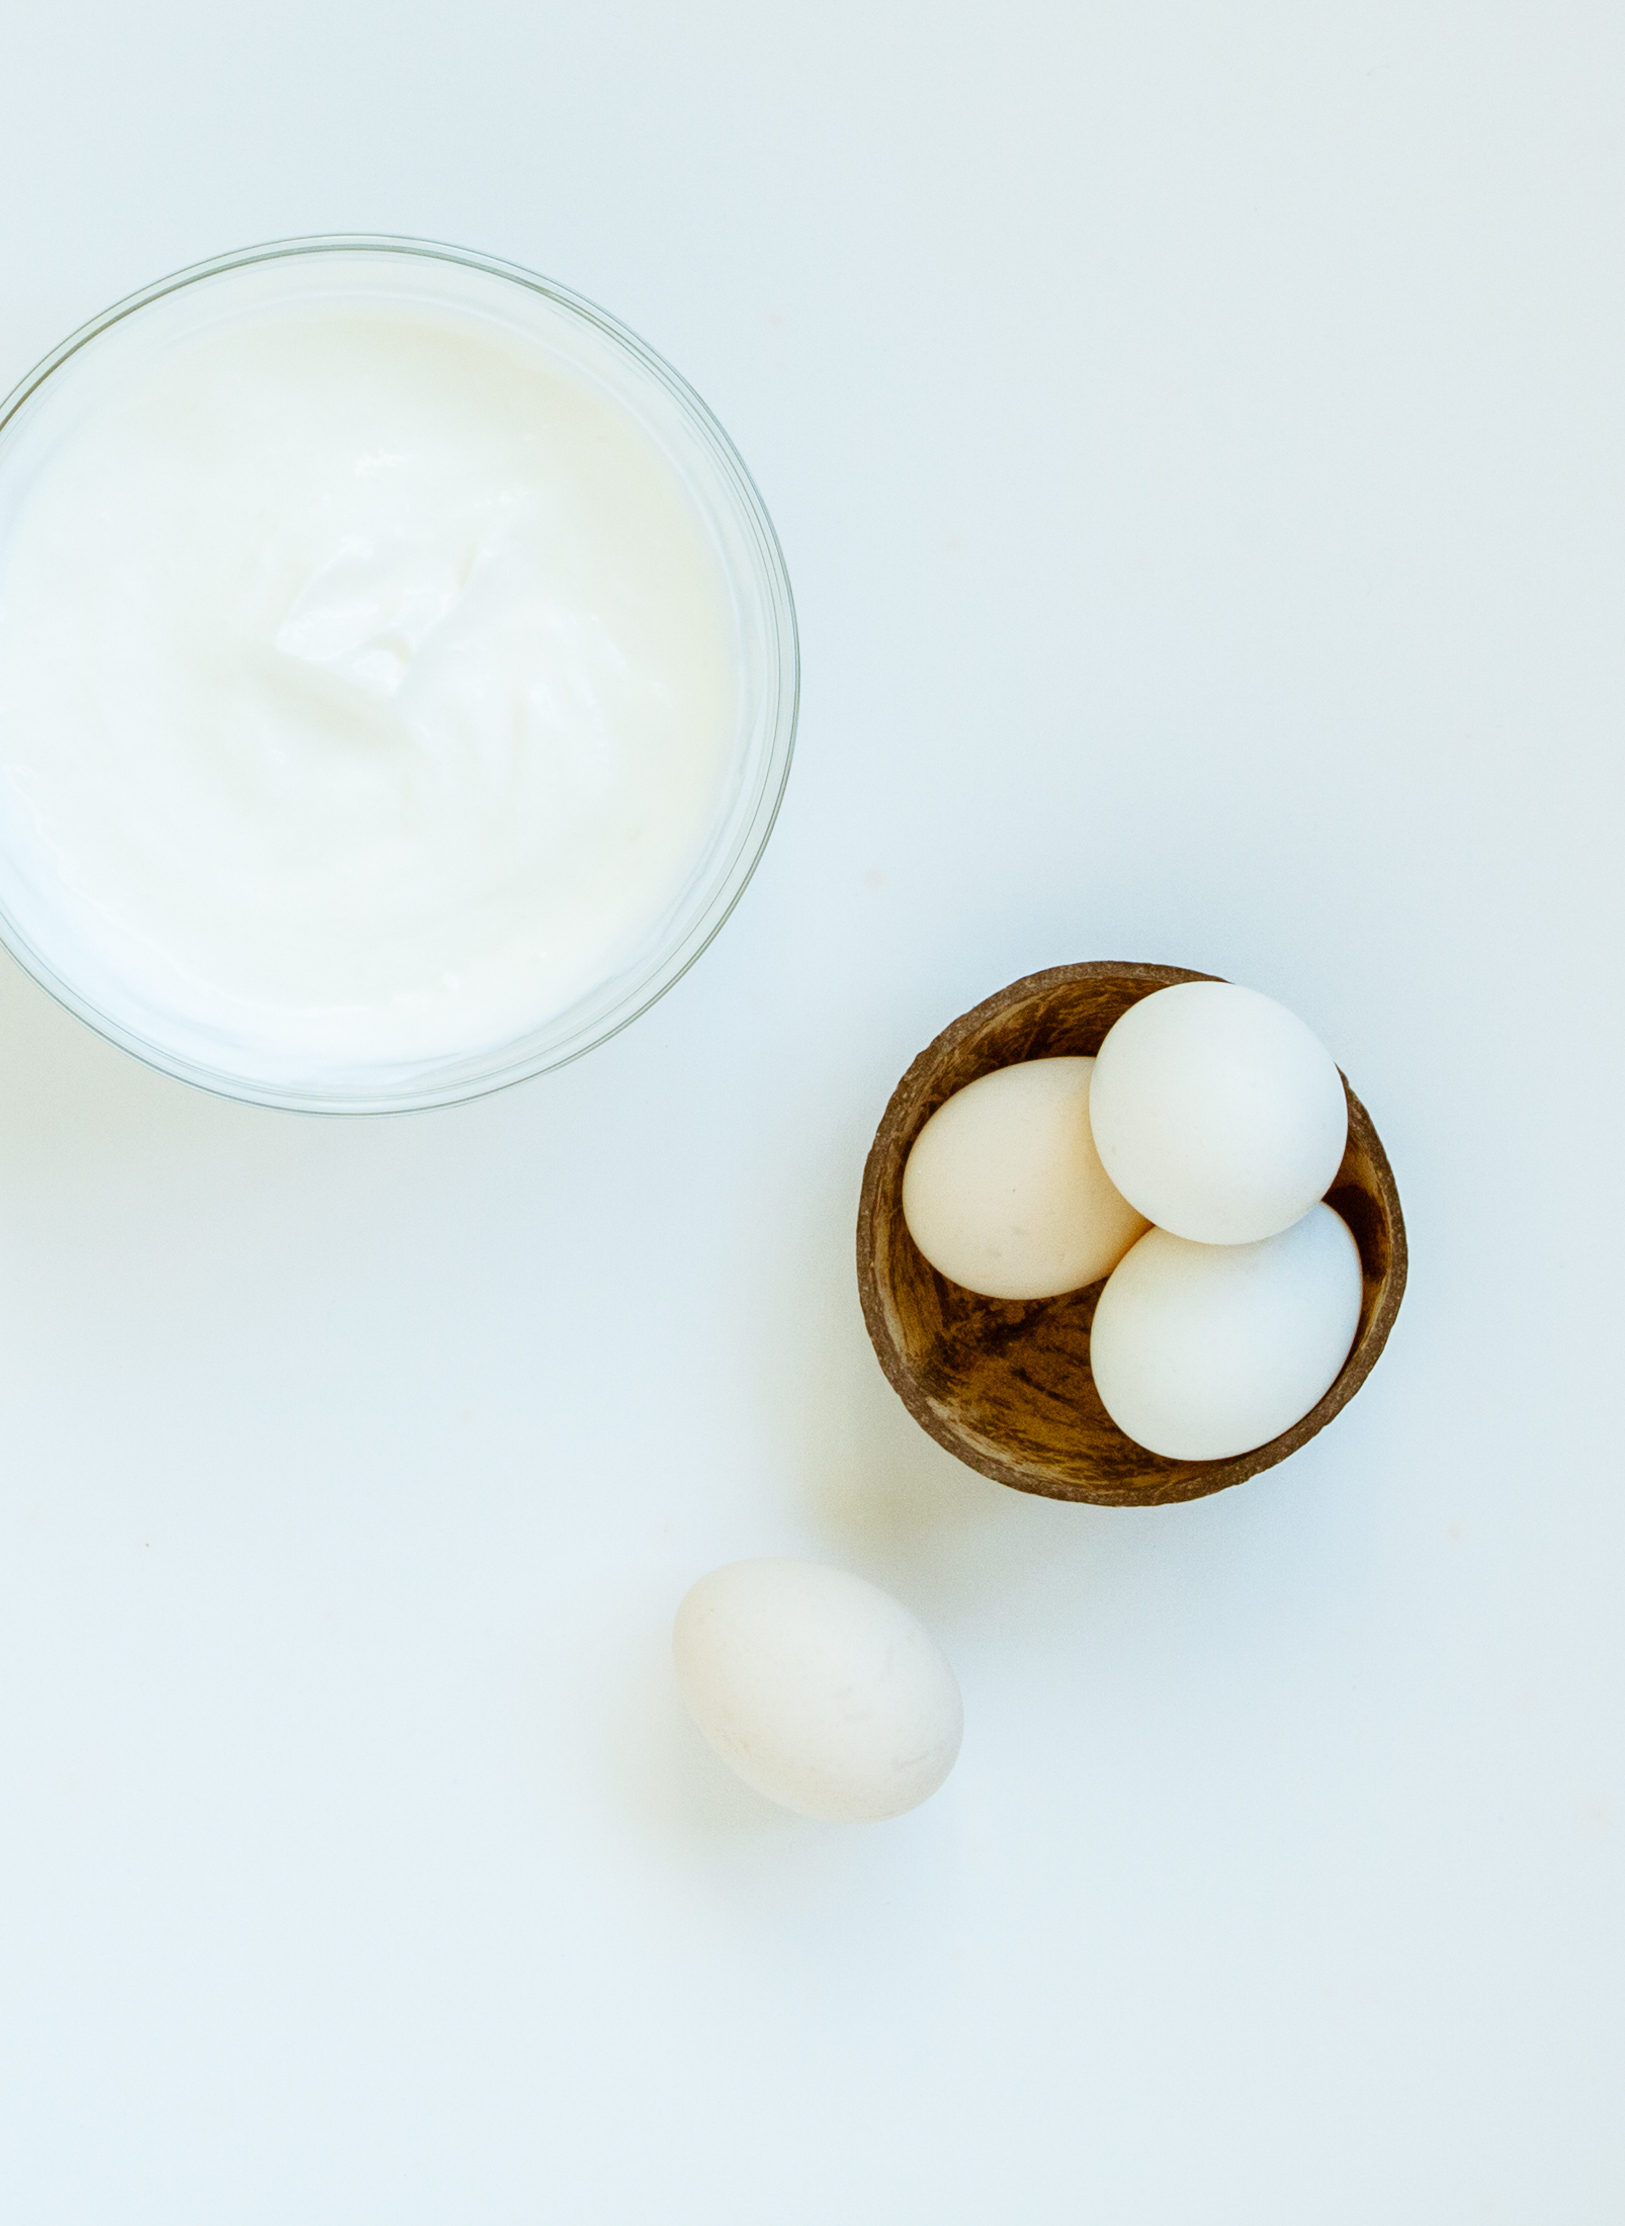
MATERIALS:
01 Eggs (white eggs preferred)
02 Whipped cream
03 Liquid food colouring
04 White Vinegar
05 Gloves
06 Toothpick
DIRECTIONS:
01 Boil eggs and let them cool
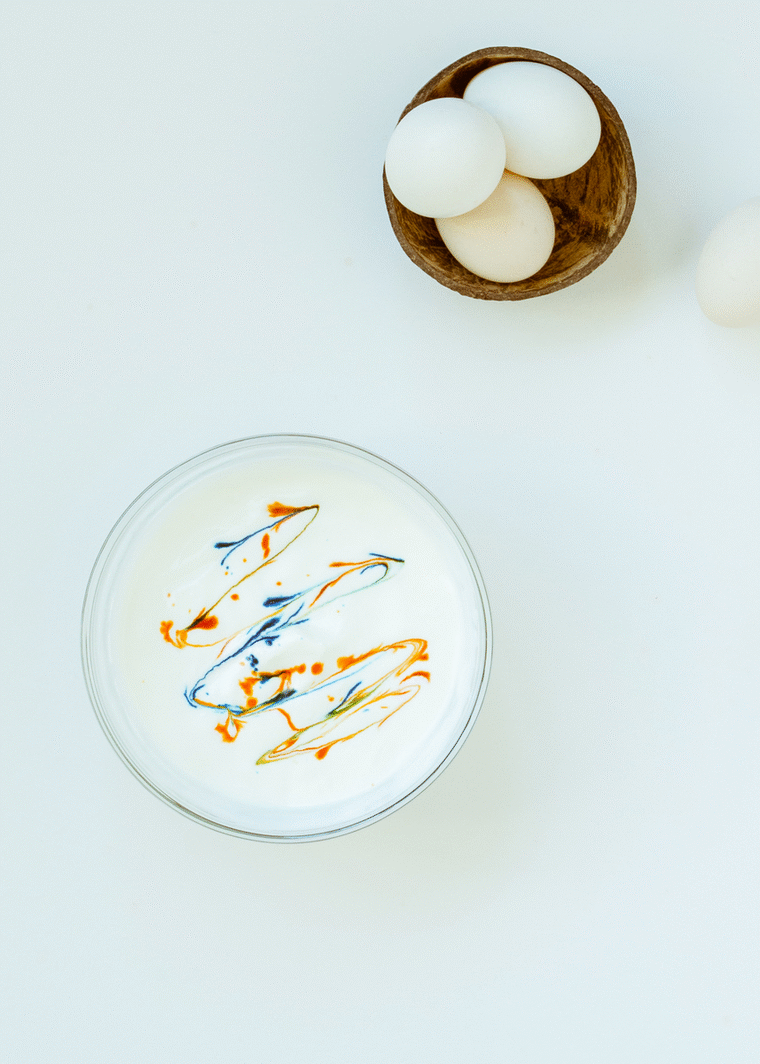
02 Smooth out some whipped cream in a glass bowl/aluminium tray (avoid using bowls which stain easily)
03 Add drops of liquid food colouring. I’ve read that gel ones don’t work
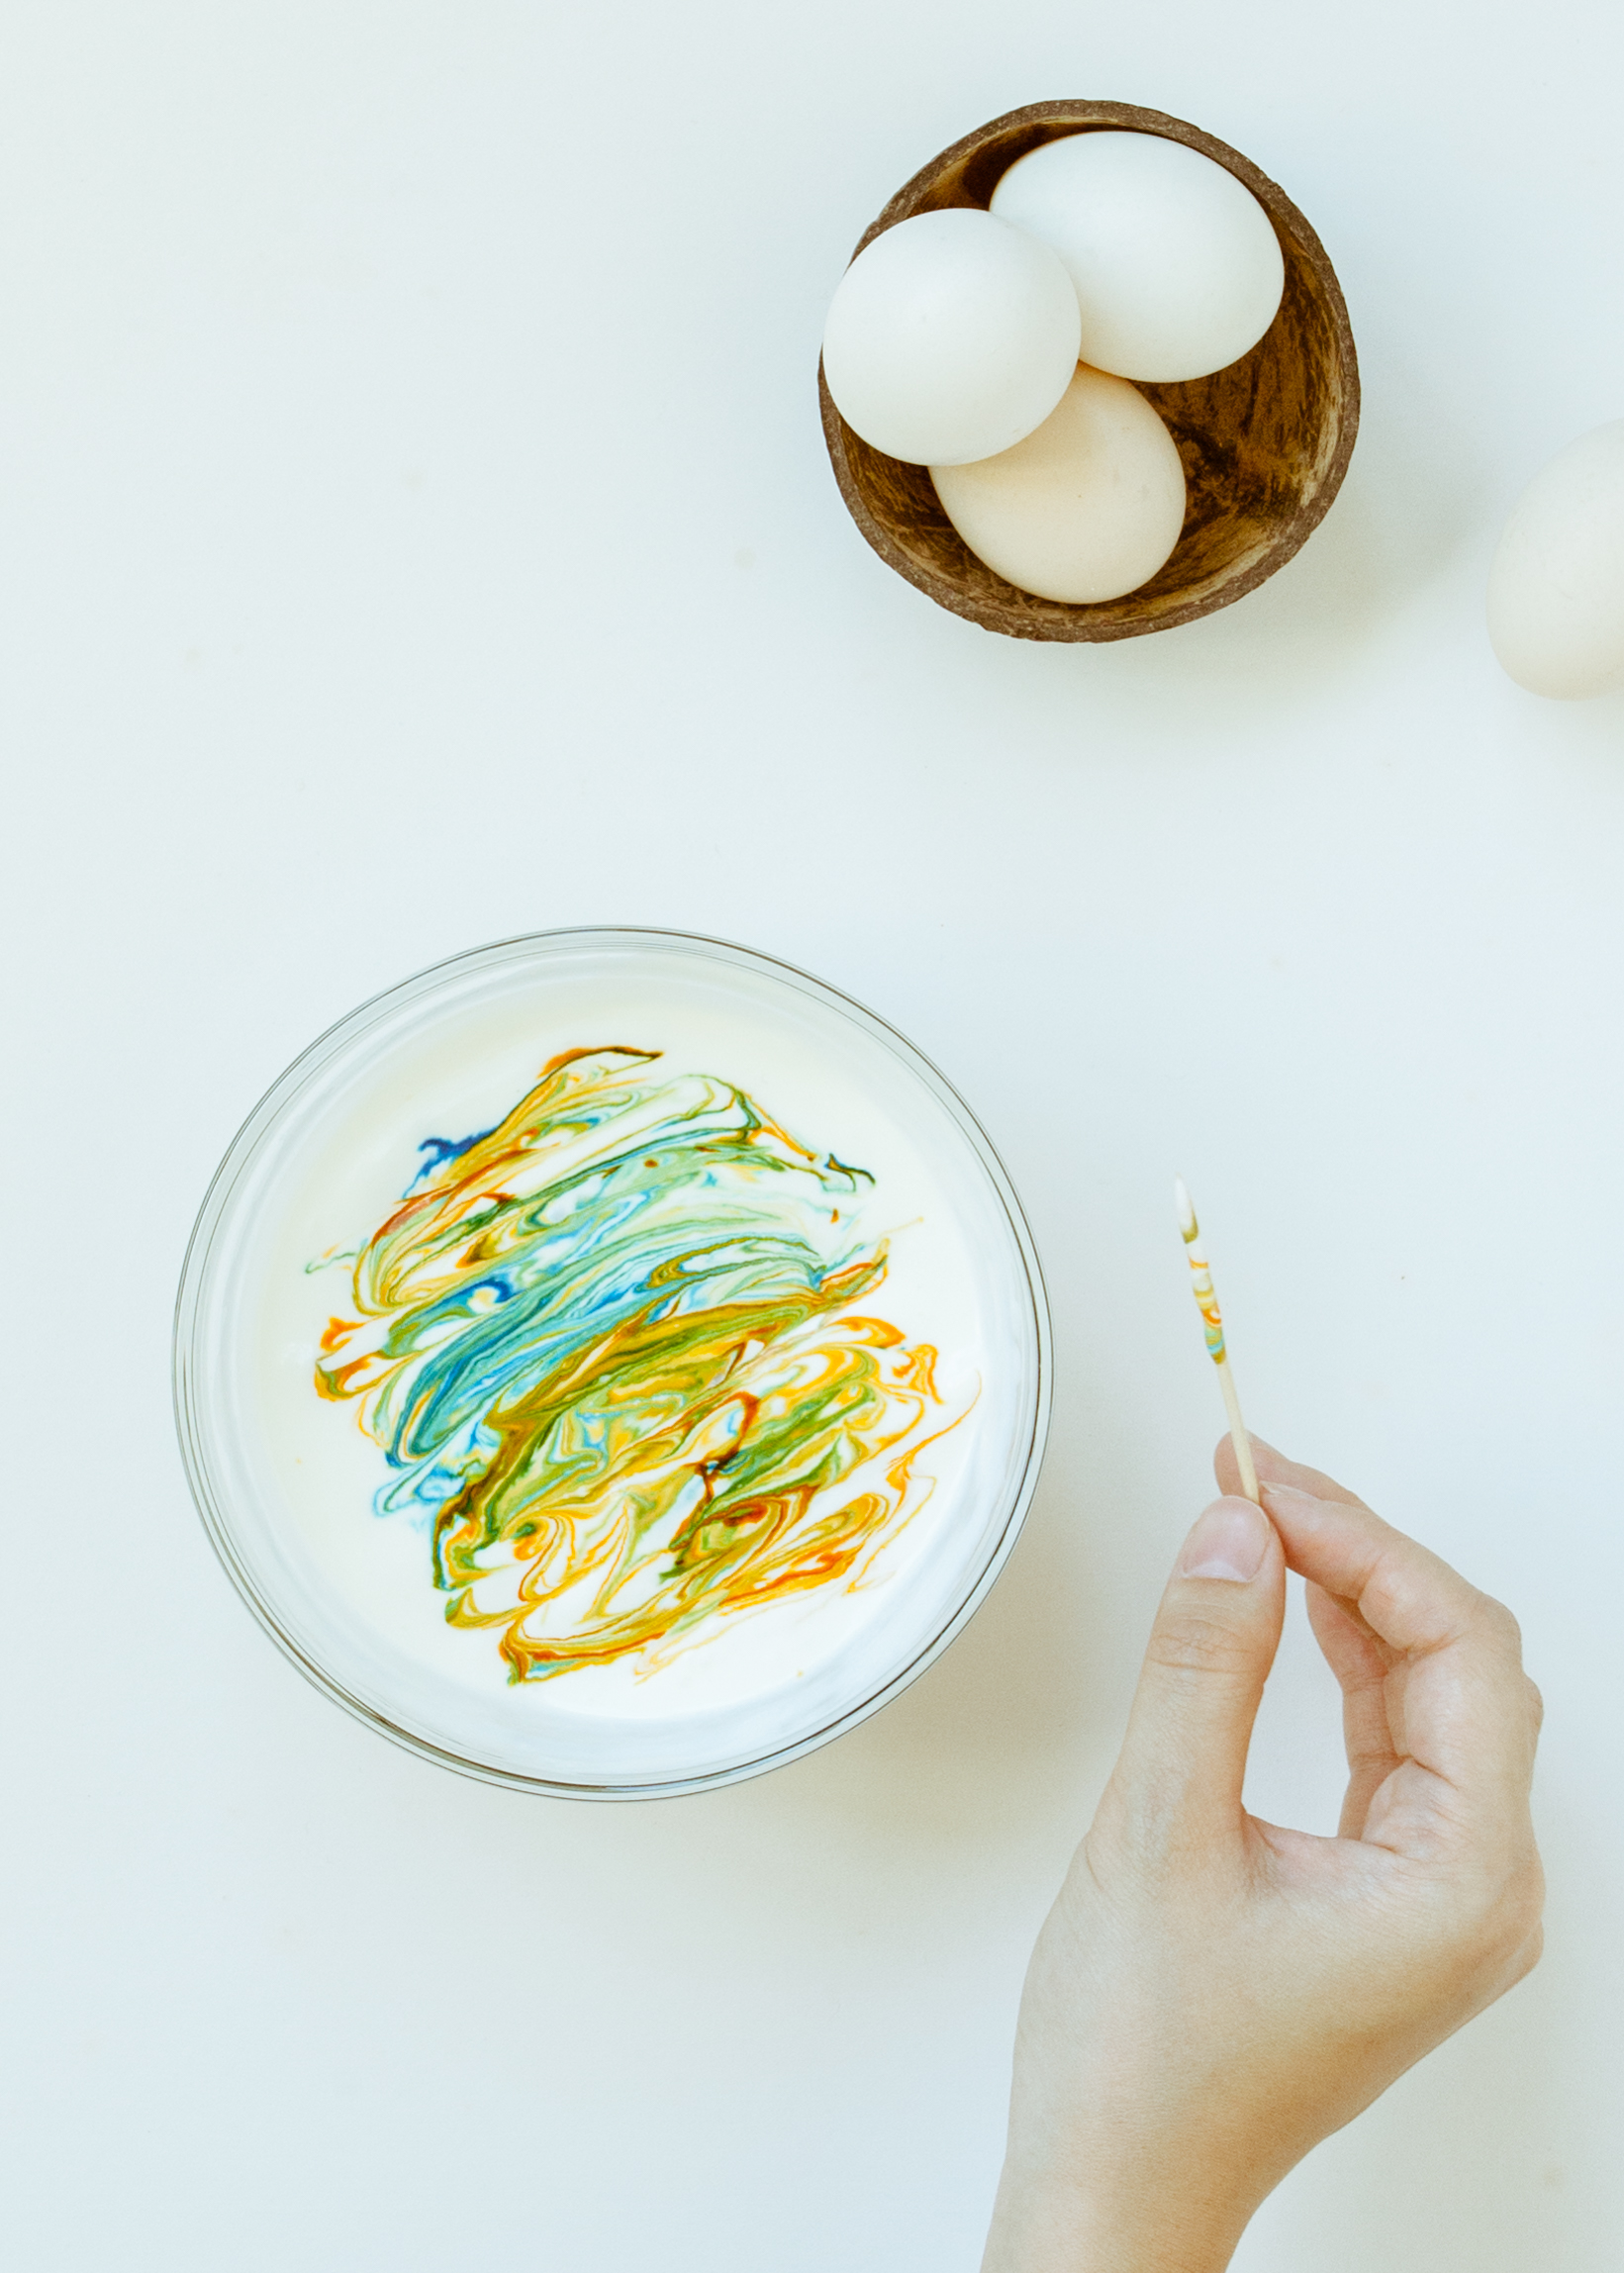
04 Use a toothpick and swirl the colours. I wanted a linear pattern across the egg so I mixed the colours horizontally. Feel free to go crazy with it otherwise!
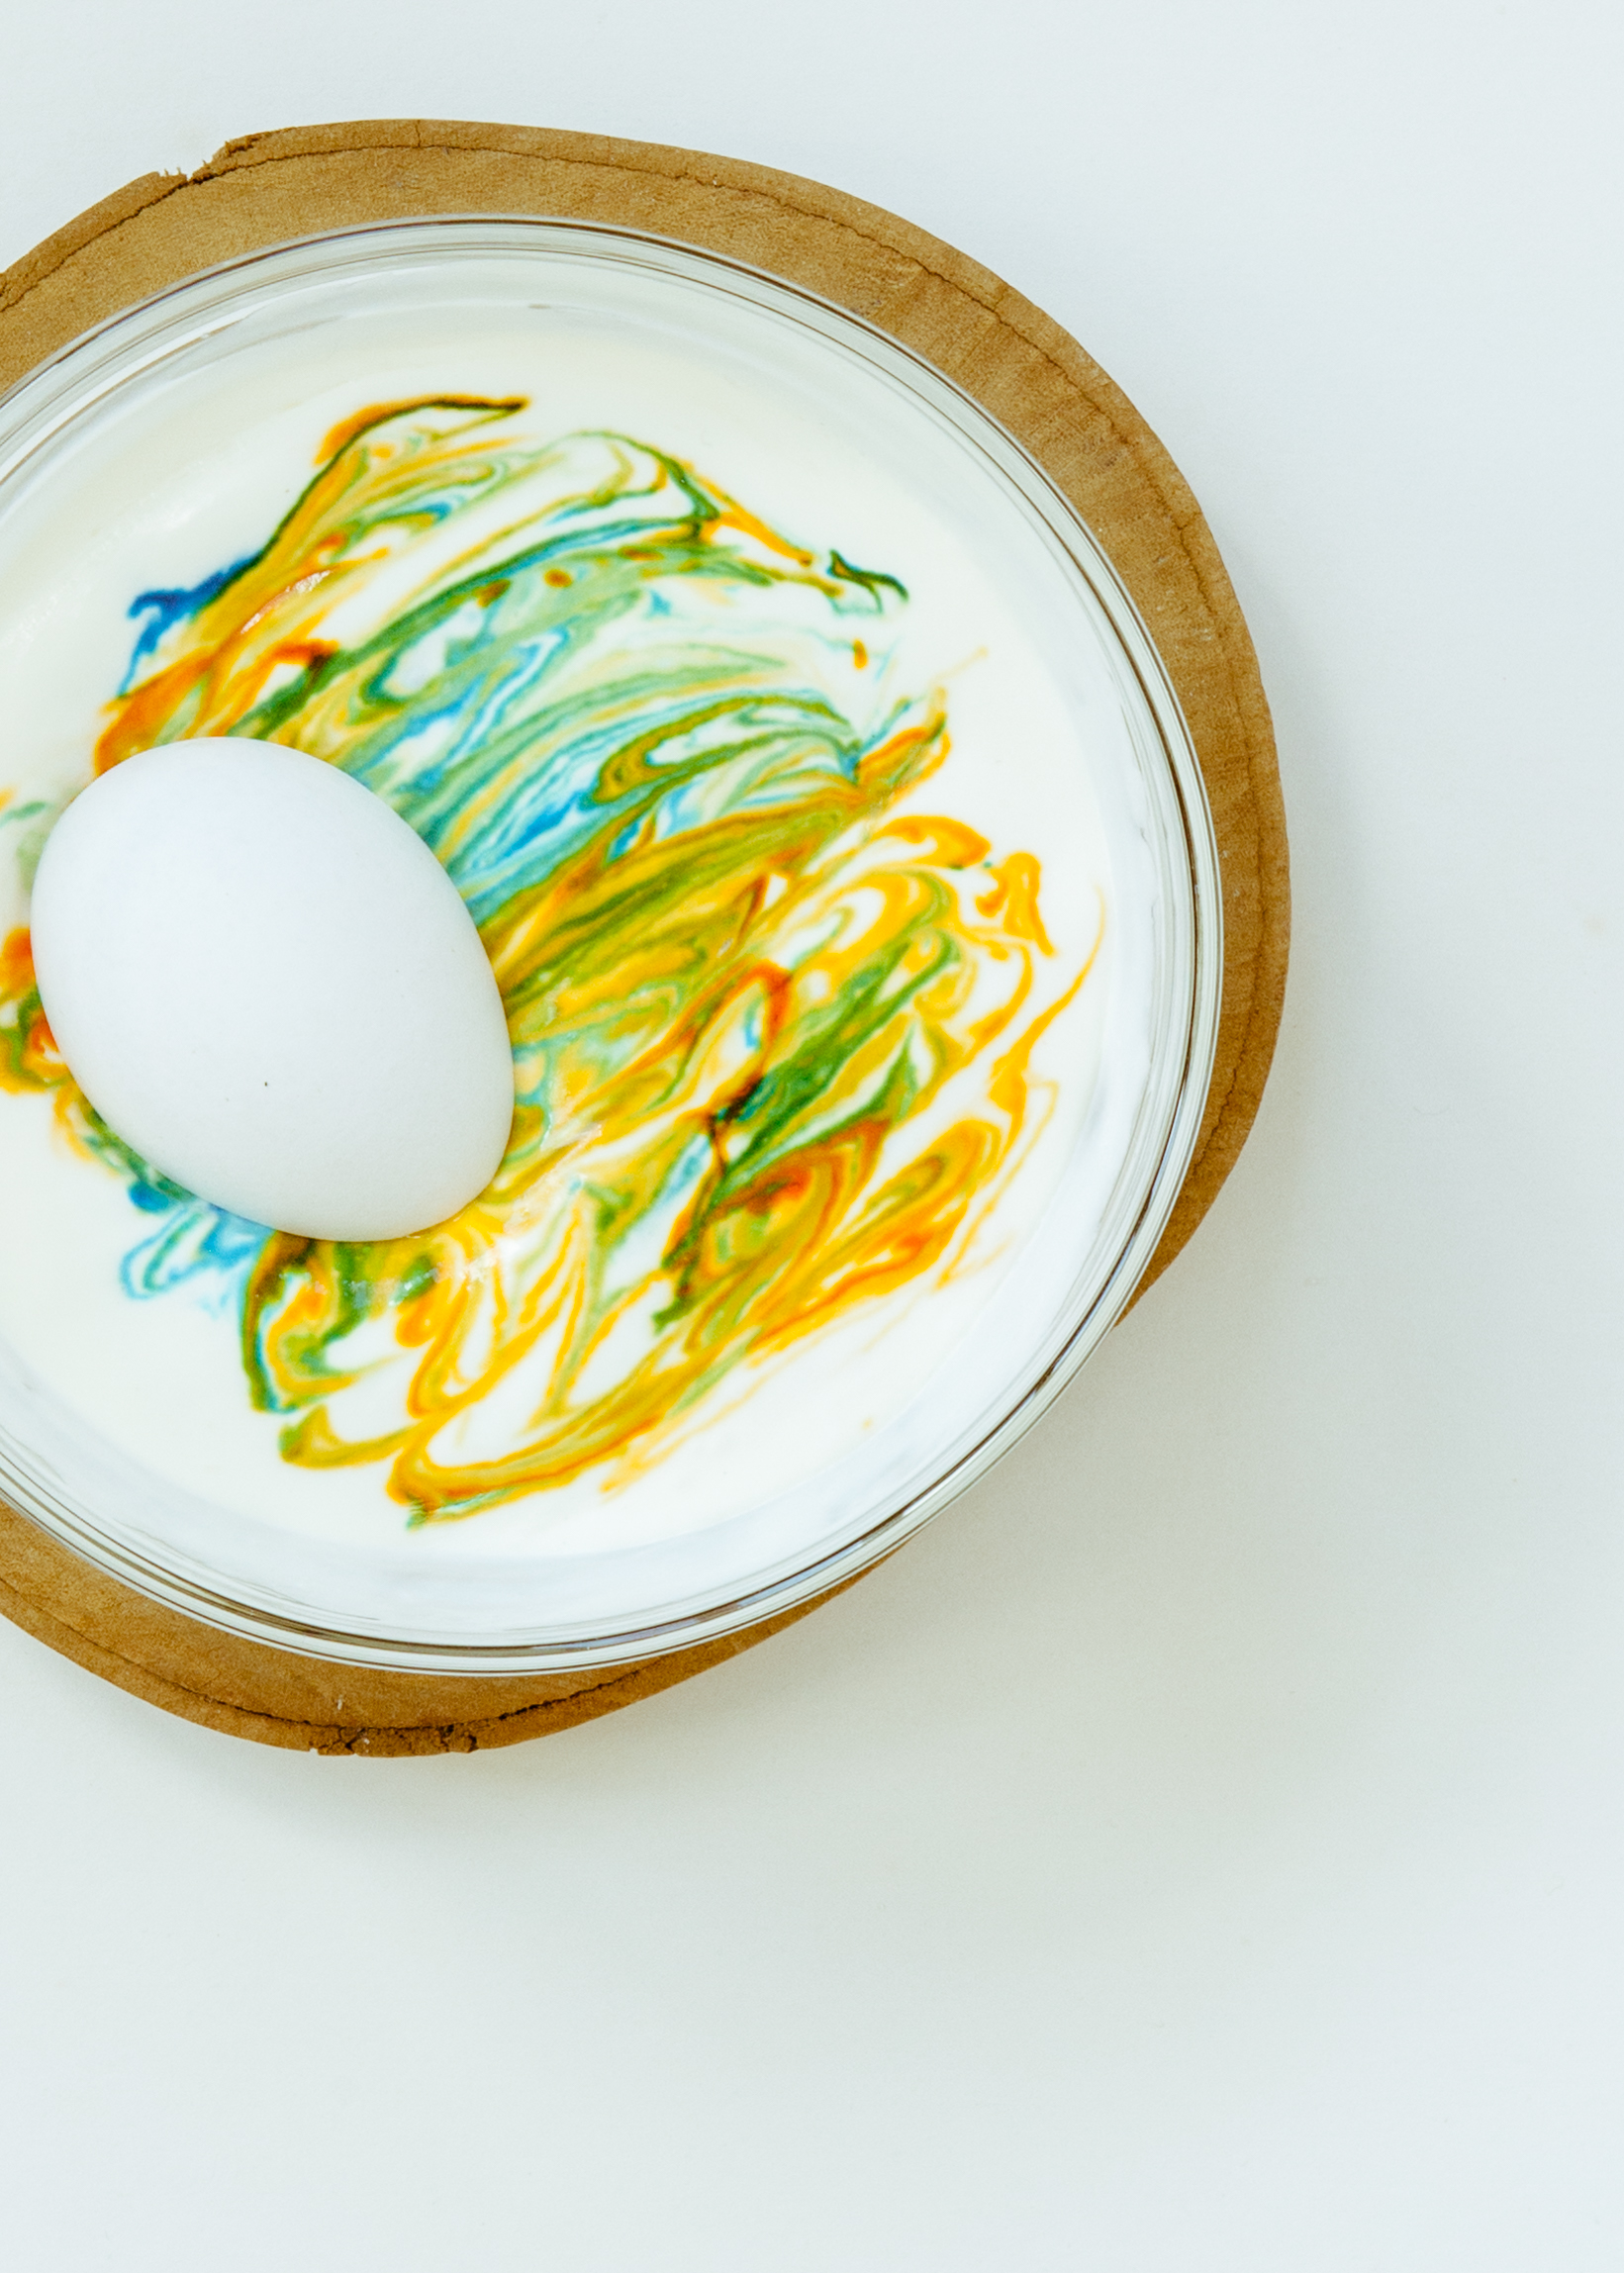
05 Swirl the egg around the whipped cream till you’re happy with how it looks. Remember to wear gloves for this step too, lest you get your fingers all stained
06 Let the eggs sit in a separate tray. The longer it sits the darker the colour. I left mine for about 10 minutes. Run the eggs under cold water, and you’re done!
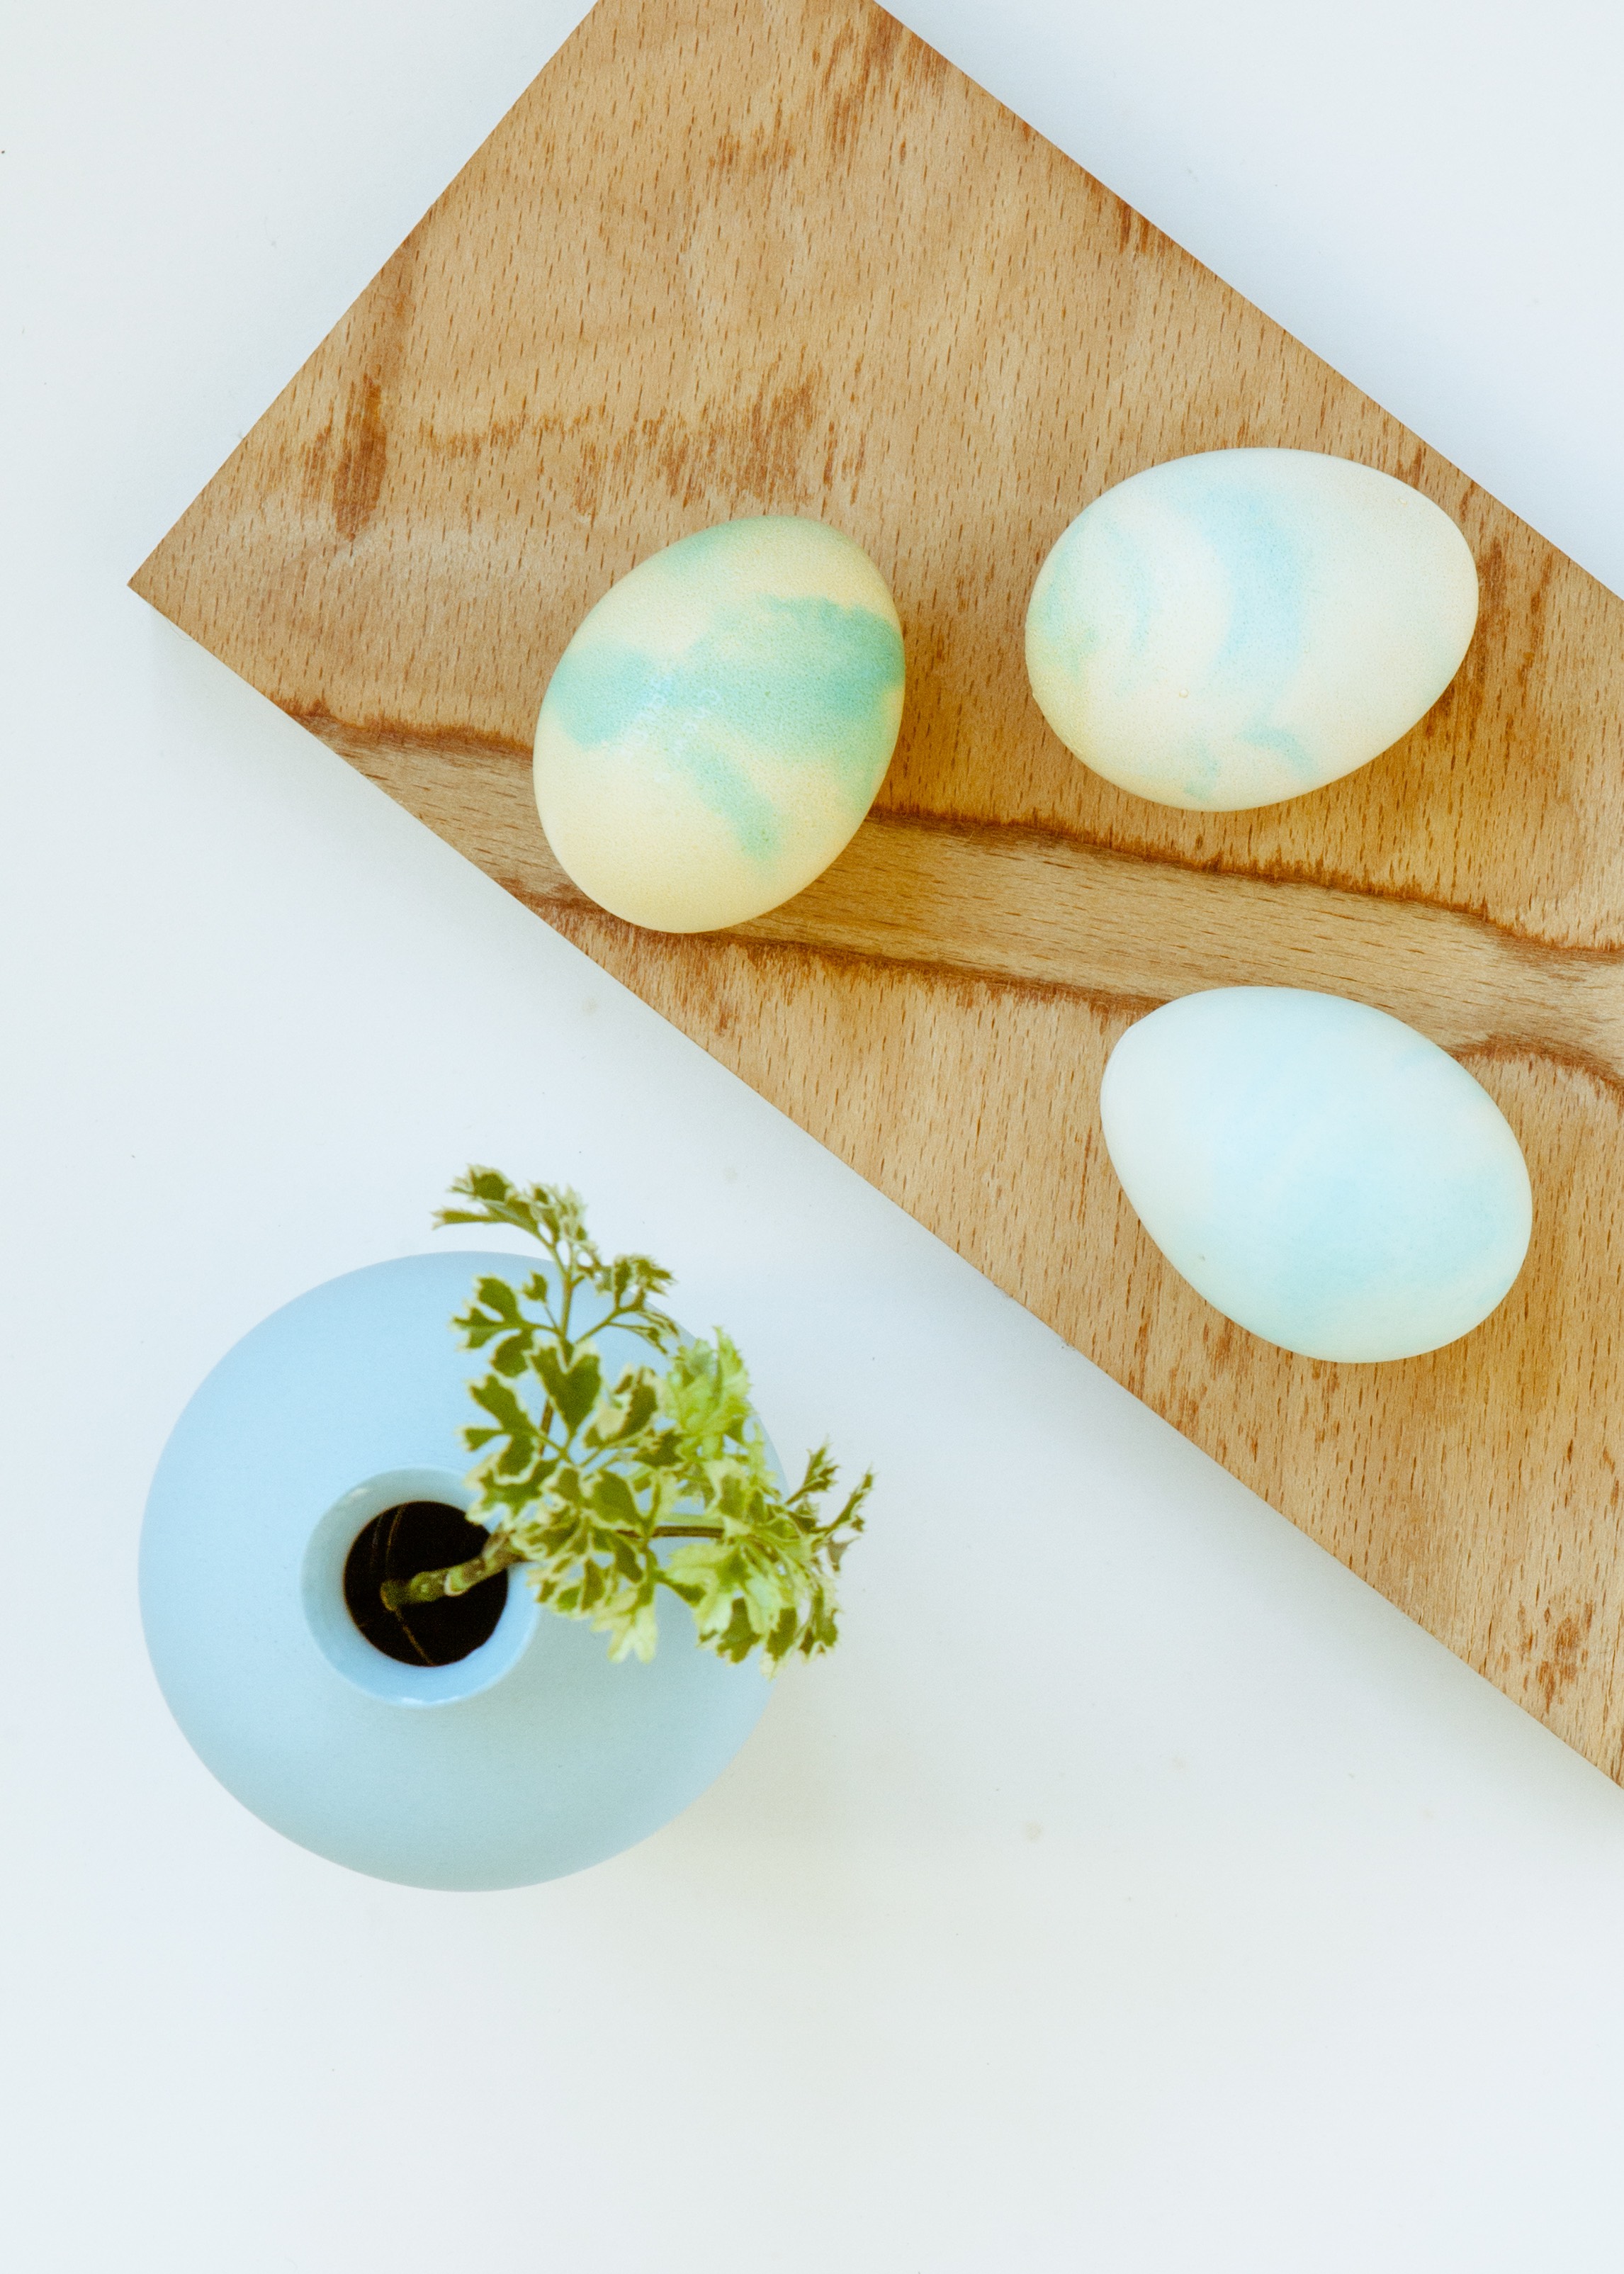
Optional: For a deeper colour on the egg, add a few drops of vinegar in your bowl. If you want your eggs to be even more vibrant, soak your eggs in a separate bowl of white vinegar for about 3-5 minutes. I wanted mine pretty muted, so the top most egg in the picture had some vinegar in the mixture, and the bottom two had no vinegar added whatsoever.
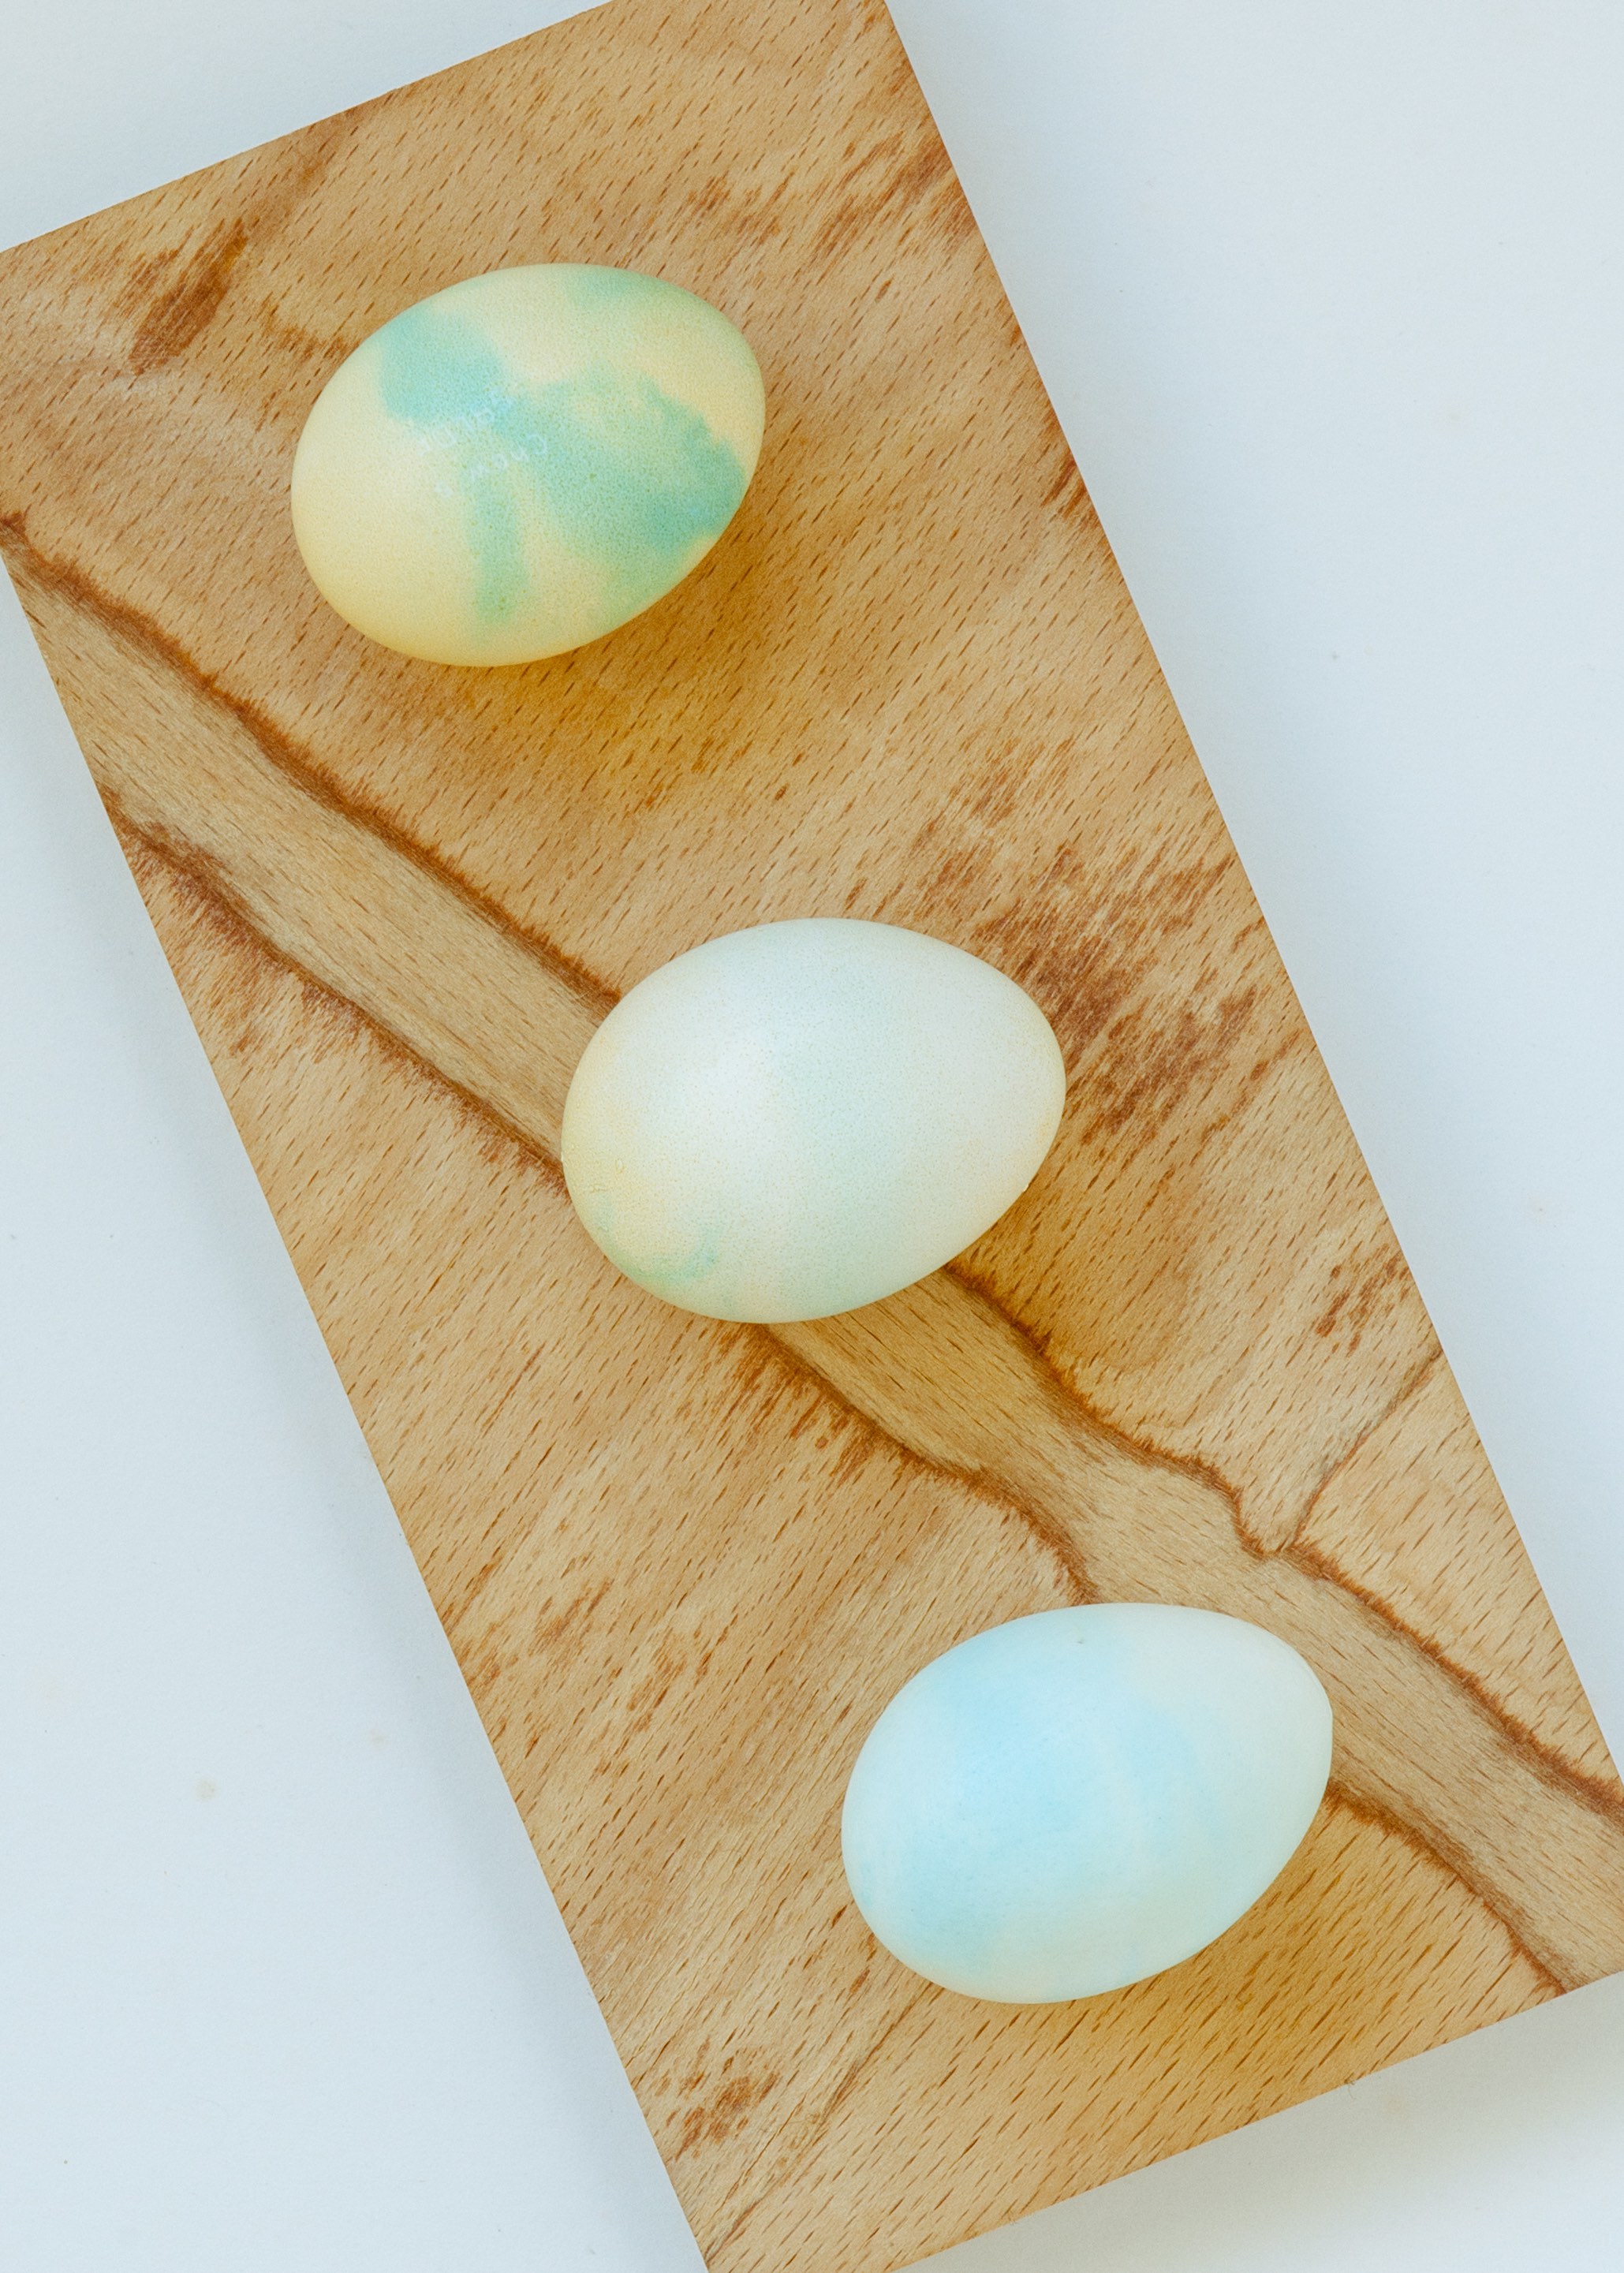
Really love how these turned out, and how fuss-free they were. I chose the colours to resemble our next print too (thumbs up if you’ve read till here)! Hope you enjoyed this little DIY. Have a happy Easter holiday and send pictures if you try this out!
#OurSecondNature #ByTheSecond